Well Water Testing Tips
How Often Should You Test Your Well Water?
For most well owners, testing at least once a year for bacteria, nitrates, and pH levels is a great rule of thumb. However, certain situations may require more frequent testing:
If you notice anything unusual, it’s wise to test immediately to identify possible contaminants.
- Sudden Changes in Taste, Smell, or Color:
- After Flooding or Nearby Construction: Environmental shifts can impact groundwater quality, especially if there has been significant rain or nearby construction.
- Following Well Repairs: Any time you’ve had work done on your well, test afterward to ensure it remains free from contamination.
Regular testing can help you identify issues early and prevent them from affecting your water quality. For a thorough inspection or expert advice on testing, our team at A+ Pump and Well Services is ready to assist.
Step 1: Choose Your Testing Method
When it comes to testing your well water, you have two main options: home test kits or professional laboratory testing.
- Home Test Kits: These are convenient and readily available at hardware stores or online, allowing for quick assessments of basic factors like pH, hardness, and certain contaminants. However, for the most accurate results, professional testing is recommended.
- Laboratory Testing: Certified labs can analyze a broader range of contaminants, including heavy metals, bacteria, pesticides, and volatile organic compounds (VOCs). Lab tests provide precise, detailed reports and are a better choice if you have concerns about water safety.
Step 2: Collect a Water Sample Correctly
Collecting a clean, accurate sample is essential for reliable test results. Here’s how to do it:
- Select a Clean Tap: Choose a cold-water tap closest to the well. Avoid faucets with filters or softeners, as these can alter the sample.
- Run the Water First: Let the water run for 2-3 minutes to flush out standing water in the pipes, giving you a sample that truly reflects the well’s quality.
- Handle the Container Carefully: If you’re using a lab’s sample kit, follow the instructions for filling and handling. Many labs provide sterile containers that should be handled with care to avoid contamination.
Step 3: Interpret Your Results
Once you have your results, it’s time to understand what they mean for your water quality.
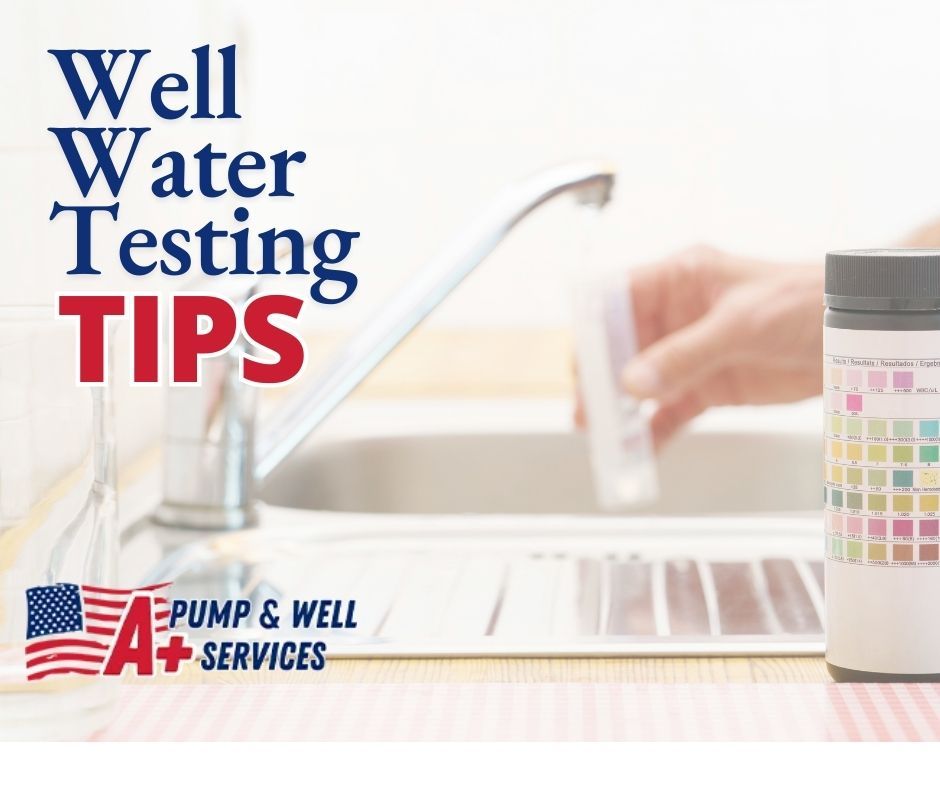
- Home Kit Results: Most home kits include a chart that explains color changes or strip readings, providing ranges for different contaminants and safe thresholds.
- Lab Report Results: If you opted for lab testing, the report will detail contaminant levels and indicate if any exceed safe limits, making it easier to understand where your water quality stands.
Step 4: Take Action Based on Your Results
If your test results reveal contaminants above safe levels, it’s time to take action. Here are a few potential solutions:
- Bacteria Issues: If bacteria levels are elevated, consider disinfection options like chlorination or a UV water purifier to ensure safe, clean water.
- Heavy Metals or Hard Water: If your well contains high levels of heavy metals or hardness,consider installing a water softener or reverse osmosis system to remove contaminants and improve water quality.
A+ Pump and Well Services offers professional water treatment solutions tailored to your needs, whether you’re dealing with bacteria, hardness, or other water quality concerns.
Annual testing is a smart step for every well owner to ensure a clean, safe water supply. If you notice any changes in your water or need help with testing and treatment options, A+ Pump and Well Services is here to help you maintain a healthy well system. From testing to treatment and regular maintenance, we have the expertise to keep your water safe year-round.
Ready for a water check-up? Contact A+ Pump and Well Services today to schedule your annual testing and ensure your well is in top shape!